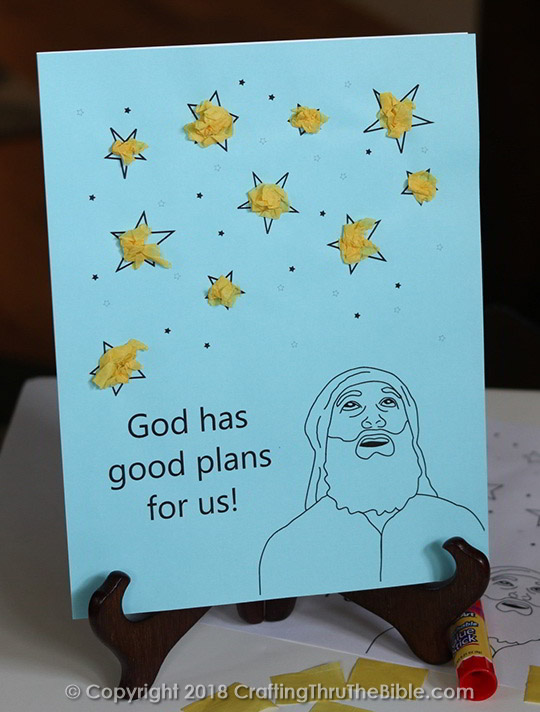
 From what teachers tell me, preschoolers love this craft. They enjoy scrunching the paper and are proud of what they create. It’s also a great way to build counting skills while at the same time emphasizing the lesson of God’s covenant with Abraham and the numerous descendants he would have. God is awesome, isn’t He?
PREPARE:
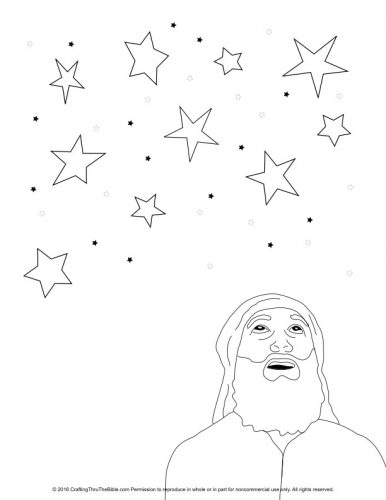
- Worksheet: Print the Abraham looking at the stars page (below) on light blue paper then write in the Bible/lesson point to the left of Abraham
- Starbursts: Cut 10 squares of yellow tissue paper (1-2″ squares)
PROVIDE:
- Glue
- Crayons, markers or colored pencils (if desired)
PRODUCE:
- Scrunch one yellow tissue paper square then glue to a star on the worksheet – I found it easiest (and less messy) to dab glue on the worksheet paper and not on the tissue paper
- Repeat on the other stars
- Color the sheet if desired
PRINT:
Print making sure the image takes up the entire sheet and doesn't get scaled. Here are some properties you may see in the print dialog:
- DO NOT "Fit to page" or "Shrink to fit"
- Select "Fill Page", "Actual Size", or make sure Scale is set to 100%
- "Borderless Printing" should be ON, or make sure there are no margins set
- Select "Auto Portrait/Landscape" or make sure the image is not sideways on the page
Great site.
Good interesting web for me.
I added your site into my bookmarks.
Keep up good work! Excited for future updates.
Regards,
Travis
Thank you for the good ideas that you share. It really helps to the outreach children that I am handling. God is good all the time!
Cecille Caduyac
United Church of Christ in the Phils
Cagayan de Oro City, Philippines
Thanks for the encouragement! All the time, God is good!!
Thank you for the great idea. Its simple and easy to described the story. God bless you